Yesterday I gave a high level overview of OpenPGP. Today I want to dive into the practical portion of OpenPGP by explaining how to use GPGTools on OS X to encrypt e-mail communications. The first thing you will want to do is get the latest version of GPGTools from here (versions prior to 2013.05.20 will not work with Apple’s Mail application in 10.8). Installing GPGTools is a straight forward affair, just click Continue, Install, and Close (for this tutorial it is assume that you performed the default installation, if you customized the installation all bets are off).
After installation has completed GPG Keychain Access will automatically open and, if this is your first installing it, ask you to generate a new key pair (click to embiggen):
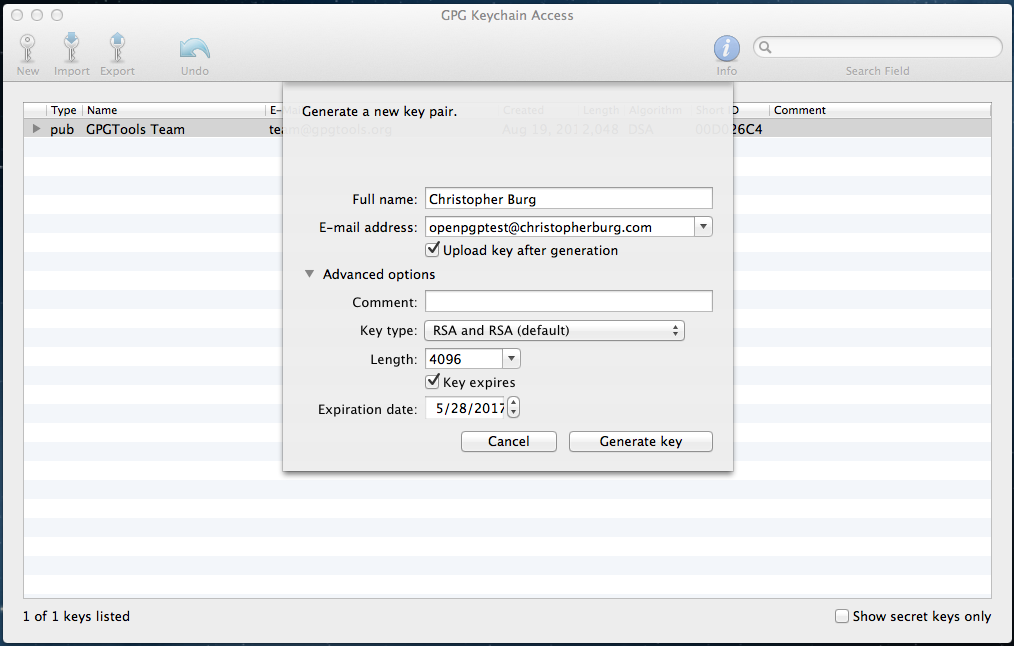
For the duration of this tutorial I will be using the e-mail address openpgptest@christopherburg.com (it’s a junk address, don’t both spamming it). Besides your e-mail address I would recommend changing the Length field to 4096. When it comes to encryption keys you need to go big or go home. Since openpgptest@christopherburg.com is a junk address I set the key to expire but you may want to uncheck the Key expires box if you plan to use your key pair with your e-mail address on a permanent basis (reissuing keys to everybody you e-mail can be a pain in the butt so setting them to expire can be a notable inconvenience). The only other field you need worry yourself with is the Upload key after generation check box. If checked the key will automatically be uploaded to the keys.gnupg.net key server (whether you want to do this is an entirely personal matter).
Once you’ve entered your key pair information click the Generate key button, which will result in the following dialog appearing:
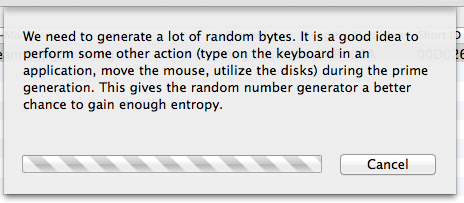
Feel free to muck about with your computer for a bit to increase randomness. While the application is waiting around on randomness a dialog asking you to enter a passphrase will appear:
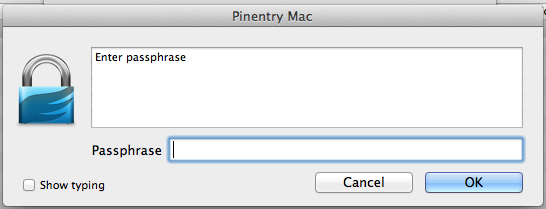
The entered passphrase will be used to encrypt your private key. Even if somebody manages to steal a copy of your private key file it will remain useless to them unless they also have your passphrase or can brute force it. To prevent the latter it is recommended that you enter a long, complex passphrase that won’t be easily guessed or likely found in a dictionary file (which is a table of words and common phrases used to brute force passphrases quickly).[1] Remember this passphrase because you will need it to decrypt your private key in order to use it to decrypt e-mails. After clicking the OK button you will be asked to re-enter the passphrase:
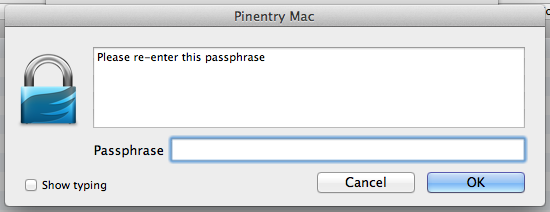
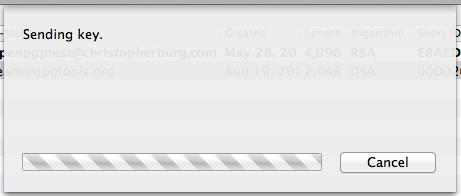
It should be pretty obvious but you need to enter the passphrase again and click the OK button. If you left the Upload key after generation checkbox checked you will see this dialog box:
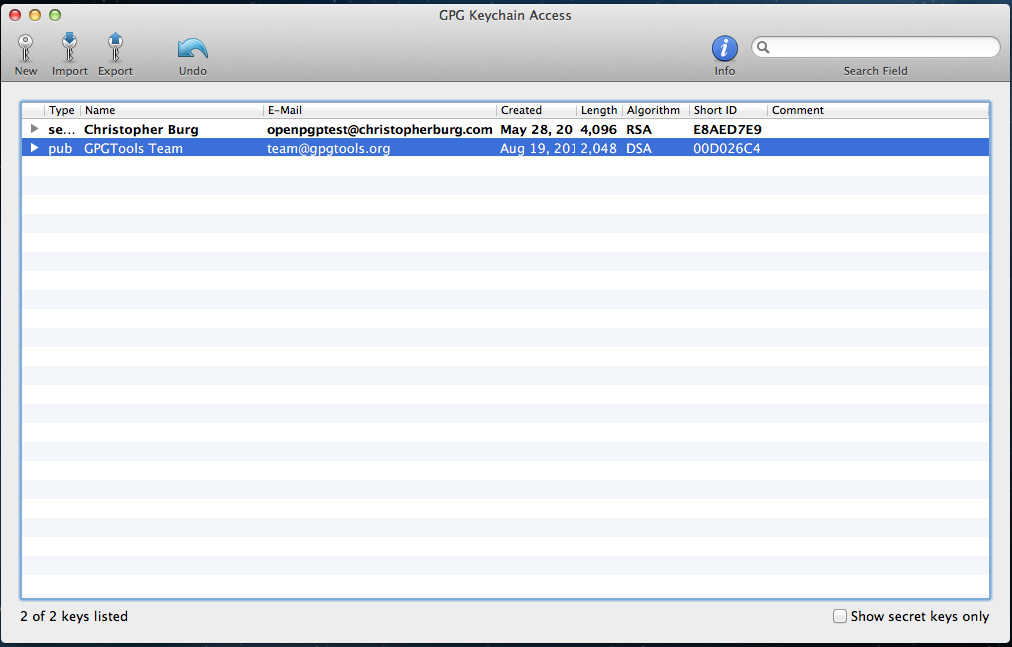
Once the file is uploaded you will see your key pair added to the GPG keychain and it will be displayed in GPG Keychain Access:
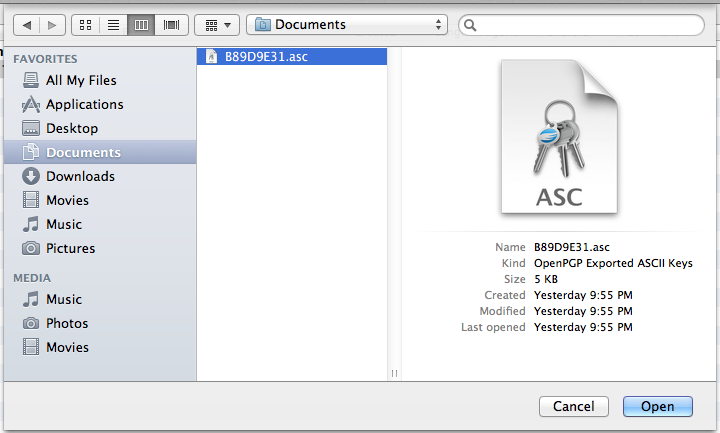
You are now able to decrypt messages encrypted with your public key however you don’t have any public keys for other users. Encrypted e-mail isn’t much fun when you don’t have anybody to talk to so you’ll want to import the public keys of the people you converse with via e-mail. For this tutorial I will be adding the public key for blog [at] christopherburg [dot] com to my GPG keychain. To do this click the Import button in the GPG Keychain Access toolbar. A dialog box will appear asking you to select an .asc file to import into your GPG keychain:
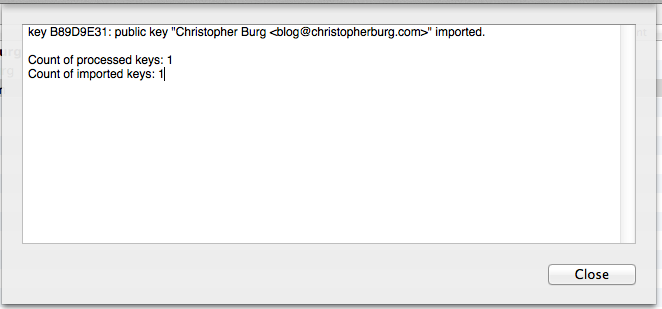
.asc files are simple text files with a different extension. As I explained in yesterday’s installment of Encrypt Everything, OpenPGP public keys are blocks of text. To create an .asc file from a copied public key you simply need to past the text into a new text file and save it as a name ending in .asc. After you click the Open button you will be notified that the public key was imported:
The public key will not appear in your GPG keychain in the GPG Keychain Access application:

Now you can encrypt e-mails with the blog [at] christopherburg [dot] com public key. E-mails encrypted with that public key can only be decrypted by the holder of the corresponding private key (which, in the case of blog [at] christopherburg [dot] com, is me).
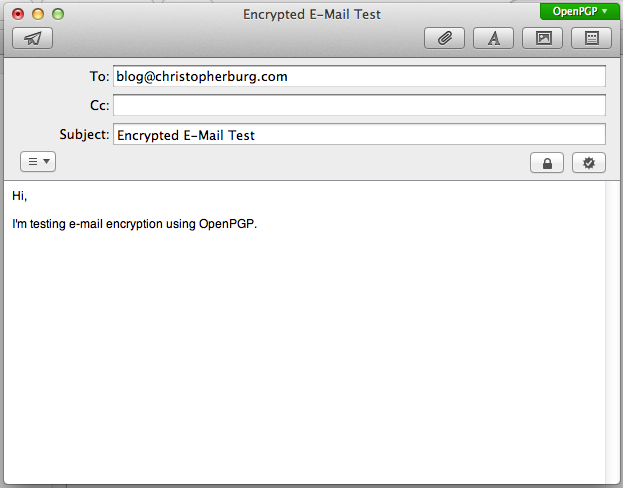
Now you are ready to communicate over e-mail securely. Let’s send an encrypted e-mail to blog [at] christopherburg [dot] com. Open up the Mail application and start a new e-mail. When composing your e-mail you will notice two buttons sitting below the subject field on the right-hand side:

Clicking the left button will encrypt the e-mail and clicking the right button will sign the e-mail. Signing your e-mail allows the recipient to verify you sent it (so long as they have your public key). I always sign my e-mails so authenticity can be ensured by the recipient. For this test we will click both buttons so the e-mail will be encrypted and signed:
You’ve probably noticed the new button in the upper right-hand corner of the form. This button allows you to select whether you want to encrypt and/or sign the e-mail using OpenPGP or S/MIME. By default it’s set to OpenPGP, which is what we want. Upon click either the encrypt or sign button the OpenPGP button will turn green. When you click the send button you will be asked to enter the passphrase for your private key:

Unless you check the Save in keychain checkbox this dialog will appear every time you send a signed e-mail (since you use the recipient’s public key to encrypt the e-mail you won’t have to enter your private key passphrase when you encrypt but don’t sign an e-mail). I recommend not checking the Save in keychain checkbox because doing so will store the passphrase for your private key in OS X’s login keychain, which means anybody who obtains your login password will be able to decrypt your private key, which will allow them to decrypt encrypted e-mails send to you.
That’s it, you’ve just sent your first OpenPGP encrypted e-mail. Any e-mails sent to your account that have been encrypted with your public key will be automatically decrypted and their contents displayed in Mail. That wasn’t too bad, was it?
[1] For example, the passphrase “passphrase” is very poor. It’s not only short, but it’s also easily guessed and commonly found in dictionary files. The passphrase “This is a random phrase that says nothing but probably isn’t easily guessed nor commonly found in most dictionary files.” is notably better since it’s not easily guessable or a commonly used phrase (although, now that it’s publicly published to the Internet, it’s worthless so don’t use it). Mixing in numbers and special characters will improve the passphrase even more.