Now that I’ve explained how to use GNU Privacy Guard on OS X and Windows it’s time to cover Linux. Writing a tutorial on Linux is slightly more difficult because different distributions have different ways of doing things, which means I have to limit this tutorial’s scope. This tutorial is aimed at users running mainstream distributions based on Red Hat and Debian. I wrote this tutorial using Xubuntu 13.04 and looked up Fedora Core specific instructions. This tutorial is known to work on Xubuntu, all but entirely guaranteed to work on Ubuntu, and most likely applicable to Fedora Core. The good news is GNU Privacy Guard is in the standard installation of Debian and Fedora-based distributions meaning you don’t have to install it manually if you’re running Debian, Ubuntu, Xubuntu, Kubuntu, Fedora Core, or Red Hat. I will explain how to install Seahorse, a graphical GNU Privacy Guard front end for Gnome and Xfce.
The first thing you need to do is install Seahorse. On Debian-based systems, such as Ubuntu, you will need to open a terminal and enter the following command:
sudo apt-get install seahorse
On Red Hat-based systems, such as Fedora Core, you will need to open a terminal and enter the following command:
su -c "yum install seahorse"
Seahorse should now be installed. It may or may not be automatically added to your application menu, depending on the distribution you’re running however the application can be launched from all systems by entering the following command in a terminal:
seahorse
You will be greeted with Seahorse’s main screen:
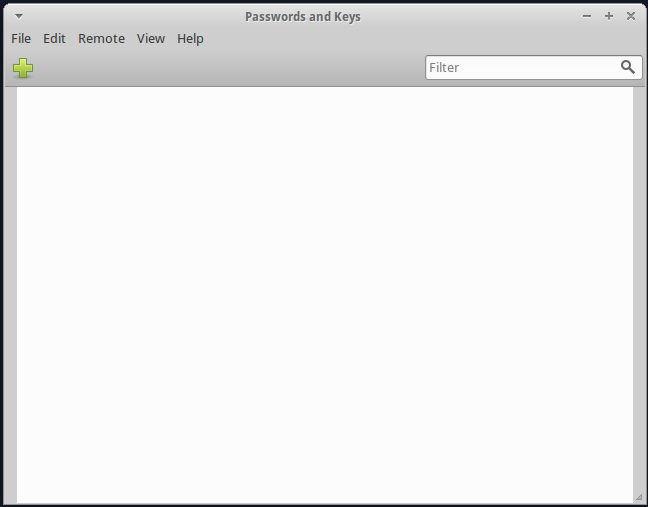
Generating a new OpenPGP key pair is easy. First, click on the green plus button. You will be asked what type of key you want to create:
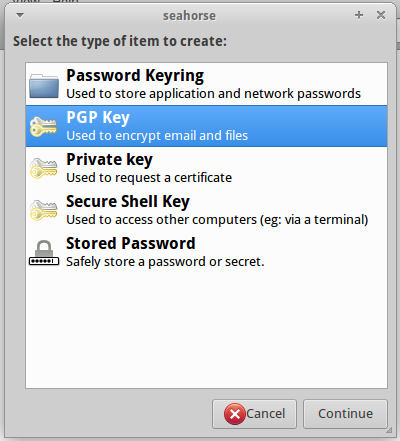
Select PGP Key and click the Continue button. You will now be presented with a dialog where you can enter the key pair information:
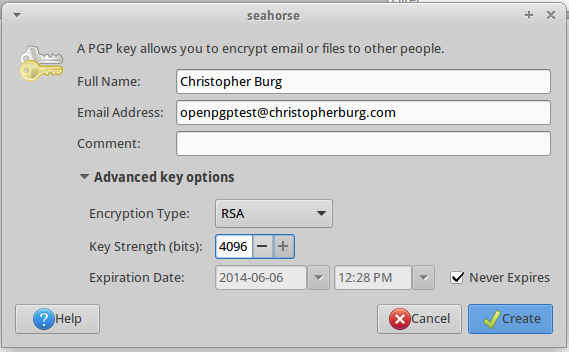
Although it’s not necessary I do recommend click the little triangle next to Advanced key options so you can manually enter a key pair length. By default it’s set to 2048 and I recommend you max it out to 4096 but you’re not required to. Whether you want to manually enter a key pair length or not you should fill in your identifying information. For this example I entered my name into the Full Name field and openpgptest@christopherburg.com into the Email Address field. Once you’ve entered your desired information click the Create button.
You will now be asked to enter a passphrase:
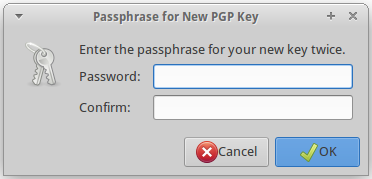
Enter a strong passphrase[1] as it will be used to encrypt your private key, which will prevent it from being used should it fall into unwanted hands. Remember, whoever possess the private key can use it to sign or encrypt data. If a malicious user was able to obtain and decrypt your private key they could impersonate you. After you’ve entered your passphrase into both fields click the OK button. Now comes the fun part, waiting for your key pair to be generated:
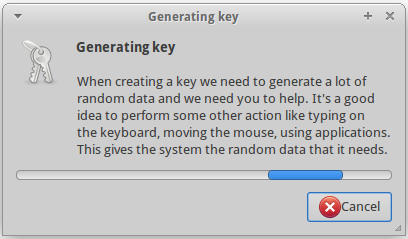
For some reason generating a key pair in Linux took much longer than generating a key pair in either OS X or Windows. It took my system approximately 20 minutes to generate the key pair. During this time Seahorse is waiting to collect enough random data, which will occur faster if you use other applications. After doing some research online I found several methods that are supposed to decrease the amount of time needed to collect enough random data. The most common recommendation I came across was an application called Entropy Gathering Daemon. I didn’t have time to download, install, and test it so I will leave you to experiment with it if you want.
After the key pair has been generated it will appear in your list of keys:
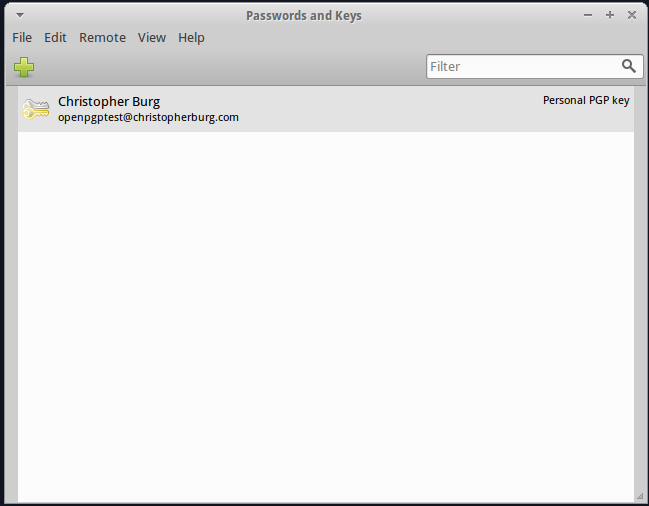
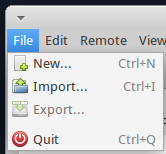
That’s it, you now have an OpenPGP key pair to encrypt and sign e-mails. Now you need to know how to import the public keys used by those you correspond with. Importing a key is easy. First, you need to obtain a copy of the public key you want to input. For this example I will use the public key for blog [at] christopherburg [dot] com. If you obtained a copy of the public key in text format paste it into a text file with a name that ends in .asc. Now go to the File menu and click Import:
In the Import Key dialog box select the .asc file containing the public key. For this example I named the file blog.christopherburg.com.asc:
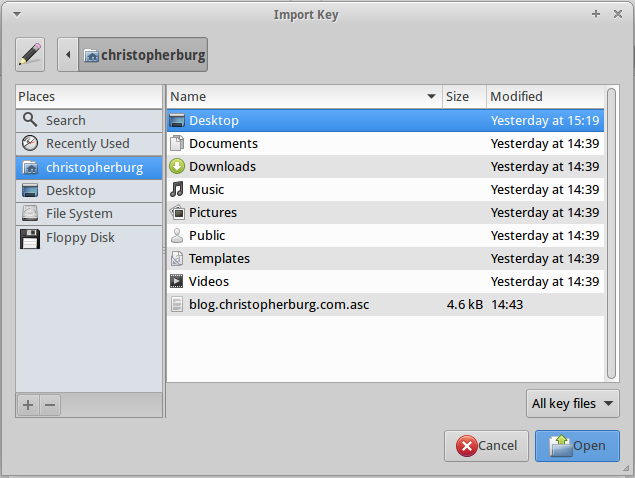
A dialog box will present information from the key being imported:
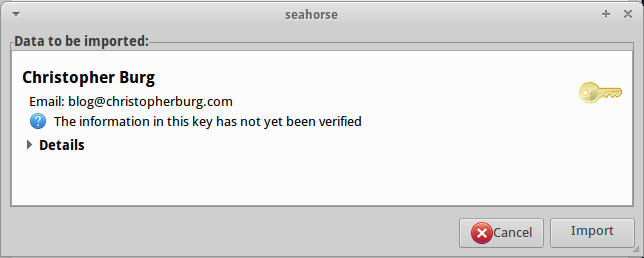
If you want to see all the details click the little triangle next to Details. Once you’re satisfied that the details are correct click the import button. You will be returned to Seahorse’s main screen but the key won’t be listed. In order to see imported keys you need to go to the View menu and select Show any:

Now you will see all the keys Seahorse knows about:
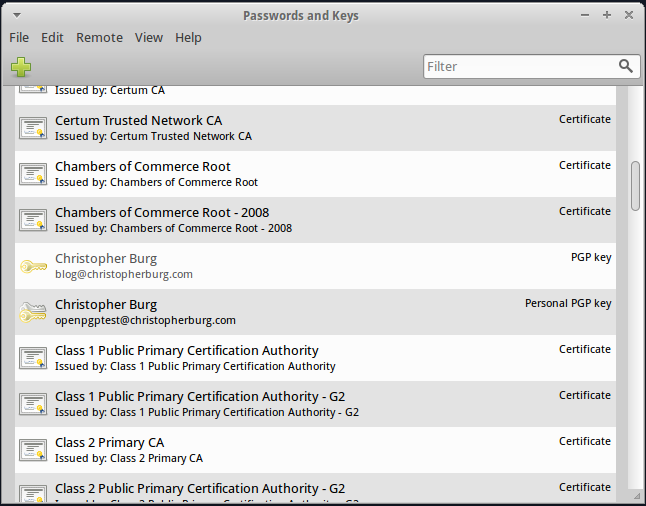
As you can see the public key for blog [at] christopherburg [dot] com is listed but isn’t trusted. If you double-click on the key you can open a dialog box that will list the key’s details:
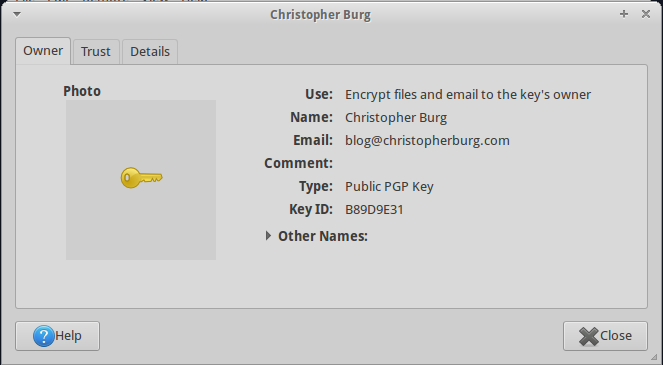
If you click on the Trust tab you can check the box labeled I trust signatures from ‘Christopher Burg
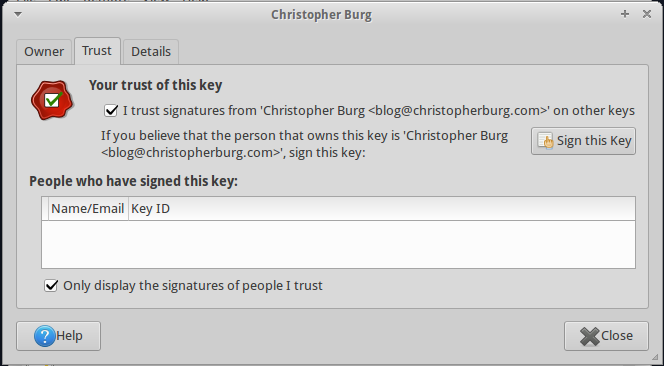
Now the key will show up in your list of trusted keys. If you so desire you can sign the public key with your private key. Signing a public key is a way of alerting other people that you have verified that the person with the corresponding private key is who he says he is.
That’s how you setup OpenPGP key pairs in Seahorse. Now that we’ve covered methods to generate OpenPGP keys on OS X, Windows, and Linux we can move onto using Thunderbird and Enigmail to send encrypted and/or signed e-mails and decrypt and/or verify signatures on e-mails, which will be covered in the next tutorial.
This is a great tutorial — screenshots are very helpful! What would be even better would be a follow up on how to use this stuff – i.e. link it with an email account, like GMail (esp. useful would be a HOW TO from Ubuntu command line). I only mention this because in all honesty, not many people have the aptitude to write a clearly, concisely, and empathetically as yourself! What is worse, they often forget to include screenshots, which are very helpful for n00bs like moi…