After a longer than expected break I’m returning to the Encrypt Everything series. Previously I discussed OpenPGP and explained how to generate keypairs in OS X, Windows, and Linux. In this installment I will explain how to install the Thunderbird e-mail client and its Engimail plugin, which enables sending and receiving OpenPGP signed and encrypted e-mails. Be sure you’ve followed the previous guide for your operating system as installing GNU Privacy Guide and generating a keypair is a prerequisite. This guide will apply to OS X, Windows, and Linux.
Step one is to download a copy of Thunderbird. This can be done by going to Mozilla’s Thunderbird website, which should automatically detect what operating system you’re running and provide you with the appropriate binary. If you, like me, run NoScript then separate links for each operating system will be displayed.
OS X
If you haven’t installed GPGTools yet do so.
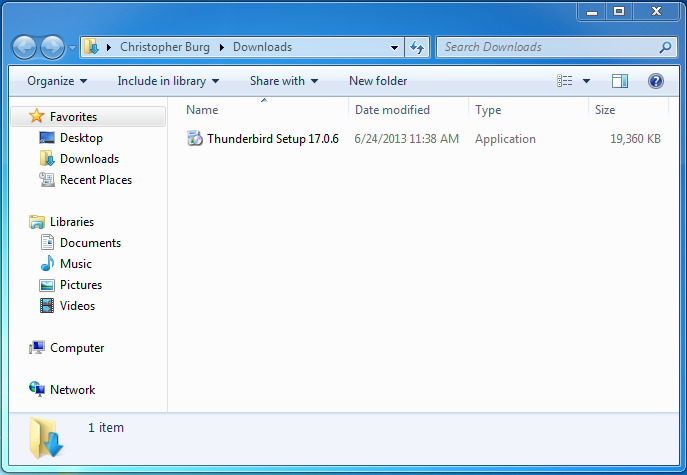
After GPGTools has been installed download the latest version of Thunderbird from Mozilla’s website. The file you download will be a .dmg. Double-clicking on the file will mount it and you’ll be greeted with the following window:

To install Thunderbird simply drag the Thunderbird icon over the Applications folder shortcut and release the mouse button. That’s it, Thunderbird is installed.
Windows
If you haven’t installed Gpg4win yet do so.
Once you’ve installed Gpg4win download the latest version of Thunderbird from Mozilla’s website. The downloaded file is a standard Windows installer. Double-click on it to start the installation process:
Once the installer has opened click the Next button twice followed by the Install button. Once Thunderbird is installed click the Finish button and you’re done.
Linux
GNU Privacy Guard is installed by default on many Linux distributions but you still need to generate a keypair. If you haven’t generated your keypair yet do so.
As with my previous Linux guide this guide was created using Xubuntu 13.04, which includes Thunderbird as the default e-mail client. Likewise, according to Ubuntu’s website, Thunderbird has been the default e-mail client since version 11.10. According to this guide Thunderbird is also included by default on Fedora Core.
Therefore, if you’re using any of the distributions this guide is applicable to, you already have Thunderbird installed. Wasn’t that easy?
Installing Enigmail
Now that you have Thunderbird installed you will need to install the Enigmail plugin. Doing so is simple thanks to Thunderbird’s built-in ability to find and install plugins. The following steps apply to OS X, Windows, and Linux. Screenshots will be taken on an OS X virtual machine because it is my default operating system.
First, if you are running OS X or Linux, go to the Tools menu and click Add-ons:

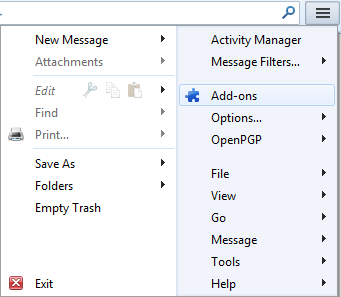
If you are running Windows click the menu button on the right-hand side of Thunderbird (next to the search box) and click Add-ons:
This will open the Add-ons Manager tab:

See the box in the upper right-hand corner of the tab labeled “Search all add-ons”? Enter “enigmail” into it and hit the enter key. You will get a list of available plugins:
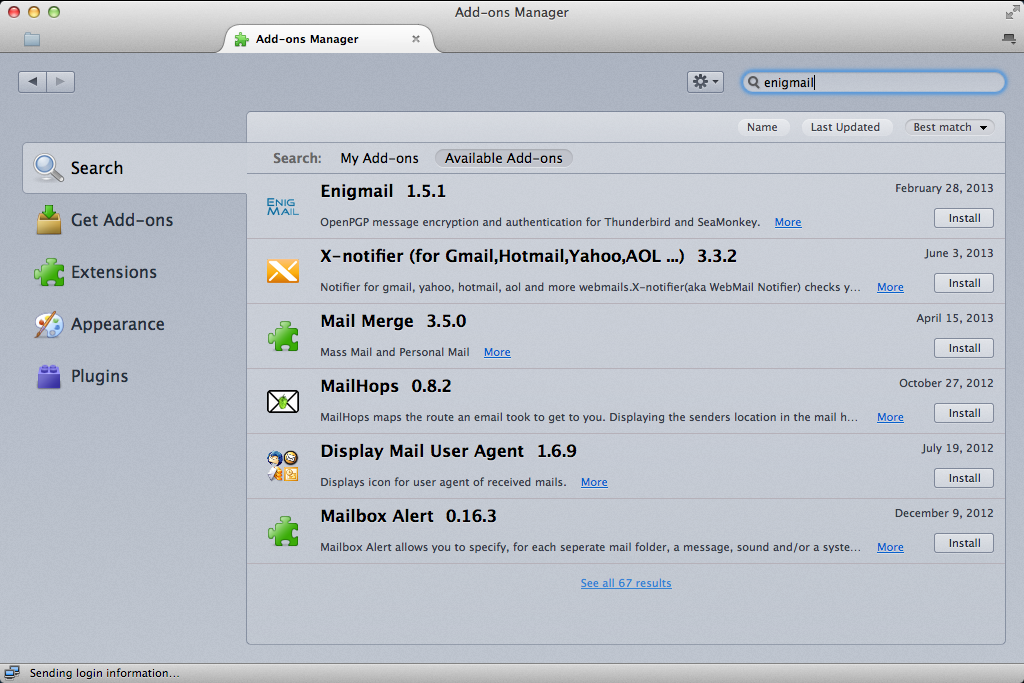
The Enigmail plugin will likely be the first result:

Click the Install button to begin the installation process. You will see a progress indicator:

Once Enigmail has been downloaded and installed you will be asked to restart Thunderbird:

That’s it, you’re setup and ready to begin sending OpenPGP signed and encrypted e-mails. As you can guess sending actual e-mails will be the topic of the next Encrypt Everything installment.